Implementation Examples
Import Script
In order to import epigraph-ar into your page, you will first need to import the following script to your <head>.
Latest Version
<script
  async
  type="module"
  src="https://cdn.jsdelivr.net/npm/@epigraph/ar/dist/epigraph-ar.min.js"
></script>
Specific Version
If you wish to import a specific version of epigraph-ar, you will need to change the import script to the following, replacing {version-number} with the specific version you wish to import.
<script
  async
  type="module"
  src="https://cdn.jsdelivr.net/npm/@epigraph/ar@{version-number}/dist/epigraph-ar.min.js"
></script>
Render Modes
The Epigraph AR web component has three different modes that you can use individually or simultaneously. These modes are the AR Button, 3D Viewer, and Product Tour.
Standalone AR Button
The AR Button functionality allows you to insert a button on your webpage that will direct clients towards the AR experience. If opened on mobile devices, it will simply launch the corresponding AR viewer (webxr/scene-viewer for Android, or quick-look for iOS) and allow them to view the experience/3D-model in augmented reality. If opened on desktop, the button will instead launch a modal with a QR code for the user to scan on their smartphone, which will then launch the corresponding AR viewer.
In order to implement a standalone AR Button for epigraph-ar, add the following html to your page:
<epigraph-ar
	sku="insert-sku-here"
></epigraph-ar>
Standalone 3D Viewer
The 3D Viewer functionality allows you to embed a bubbled up version of Google's Model Viewer anywhere on your webpage, allowing users to directly interact with the experience/3D-model. On mobile devices, the 3D Viewer will launch a fullscreen viewer of the experience upon interacting with it. On desktop, the 3D Viewer simply remains embedded in the same location on your webpage while you interact with it.
In order to implement the standalone 3D Viewer (without the AR Button), add the following html to your page:
<epigraph-ar
	sku="insert-sku-here"
	button-mode="none"
	viewer-visible
></epigraph-ar>
Standalone Product Tour
For the Epigraph AR web component, the Product Tour functionality renders pre-defined hotspots along the 3D model inside the 3D Viewer, which detail product information and can show additional media upon clicking them. On mobile devices, the 3D Viewer's poster to launch the Product Tour is instead replaced with a button, though this can be overridden using the mobile-product-tour-button slot outlined here.
The Product Tour render mode is reliant on having the 3D Viewer enabled, so while we can render it without the AR Button, we cannot render it without the 3D Viewer:
<epigraph-ar
	sku="insert-sku-here"
	button-mode="none"
	viewer-visible
	product-tour-visible
></epigraph-ar>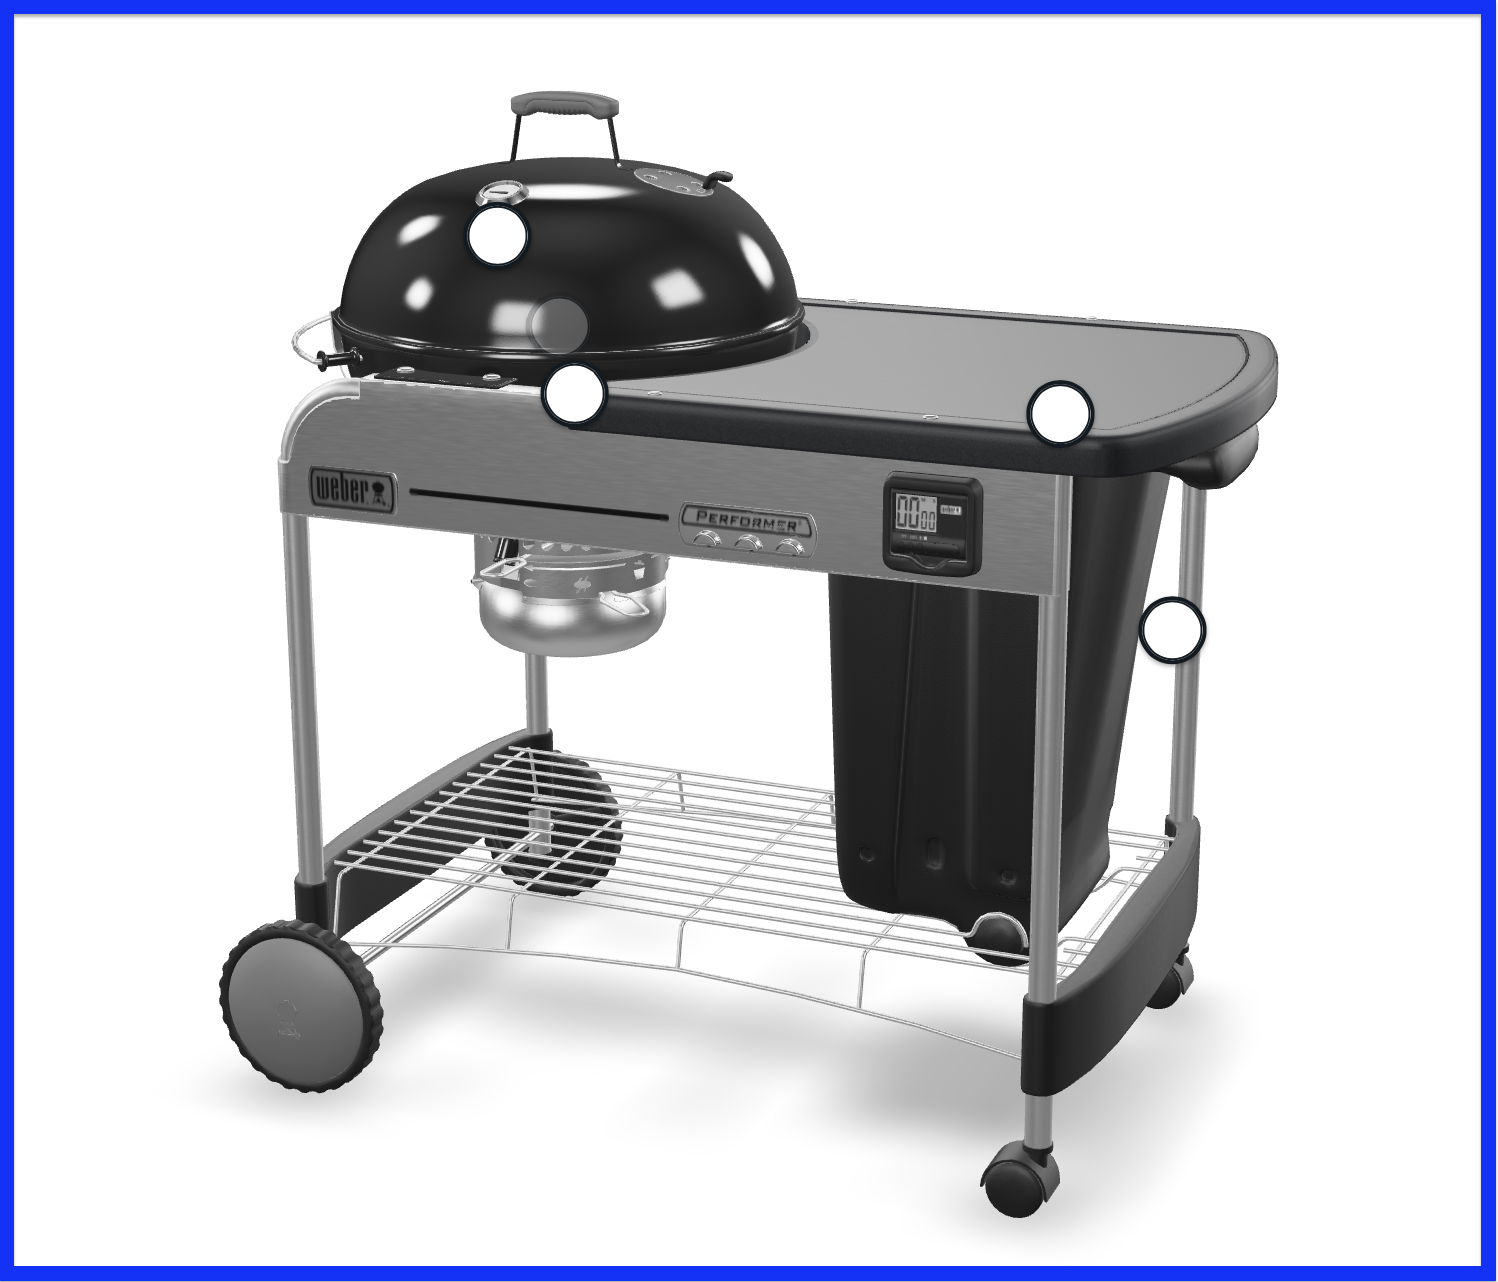
All Three Modes (AR Button, 3D Viewer, Product Tour)
In order to render all three modes of epigraph-ar together, add the following html to your page:
<epigraph-ar
	sku="INSERT-SKU"
	viewer-visible
	product-tour-visible
></epigraph-ar>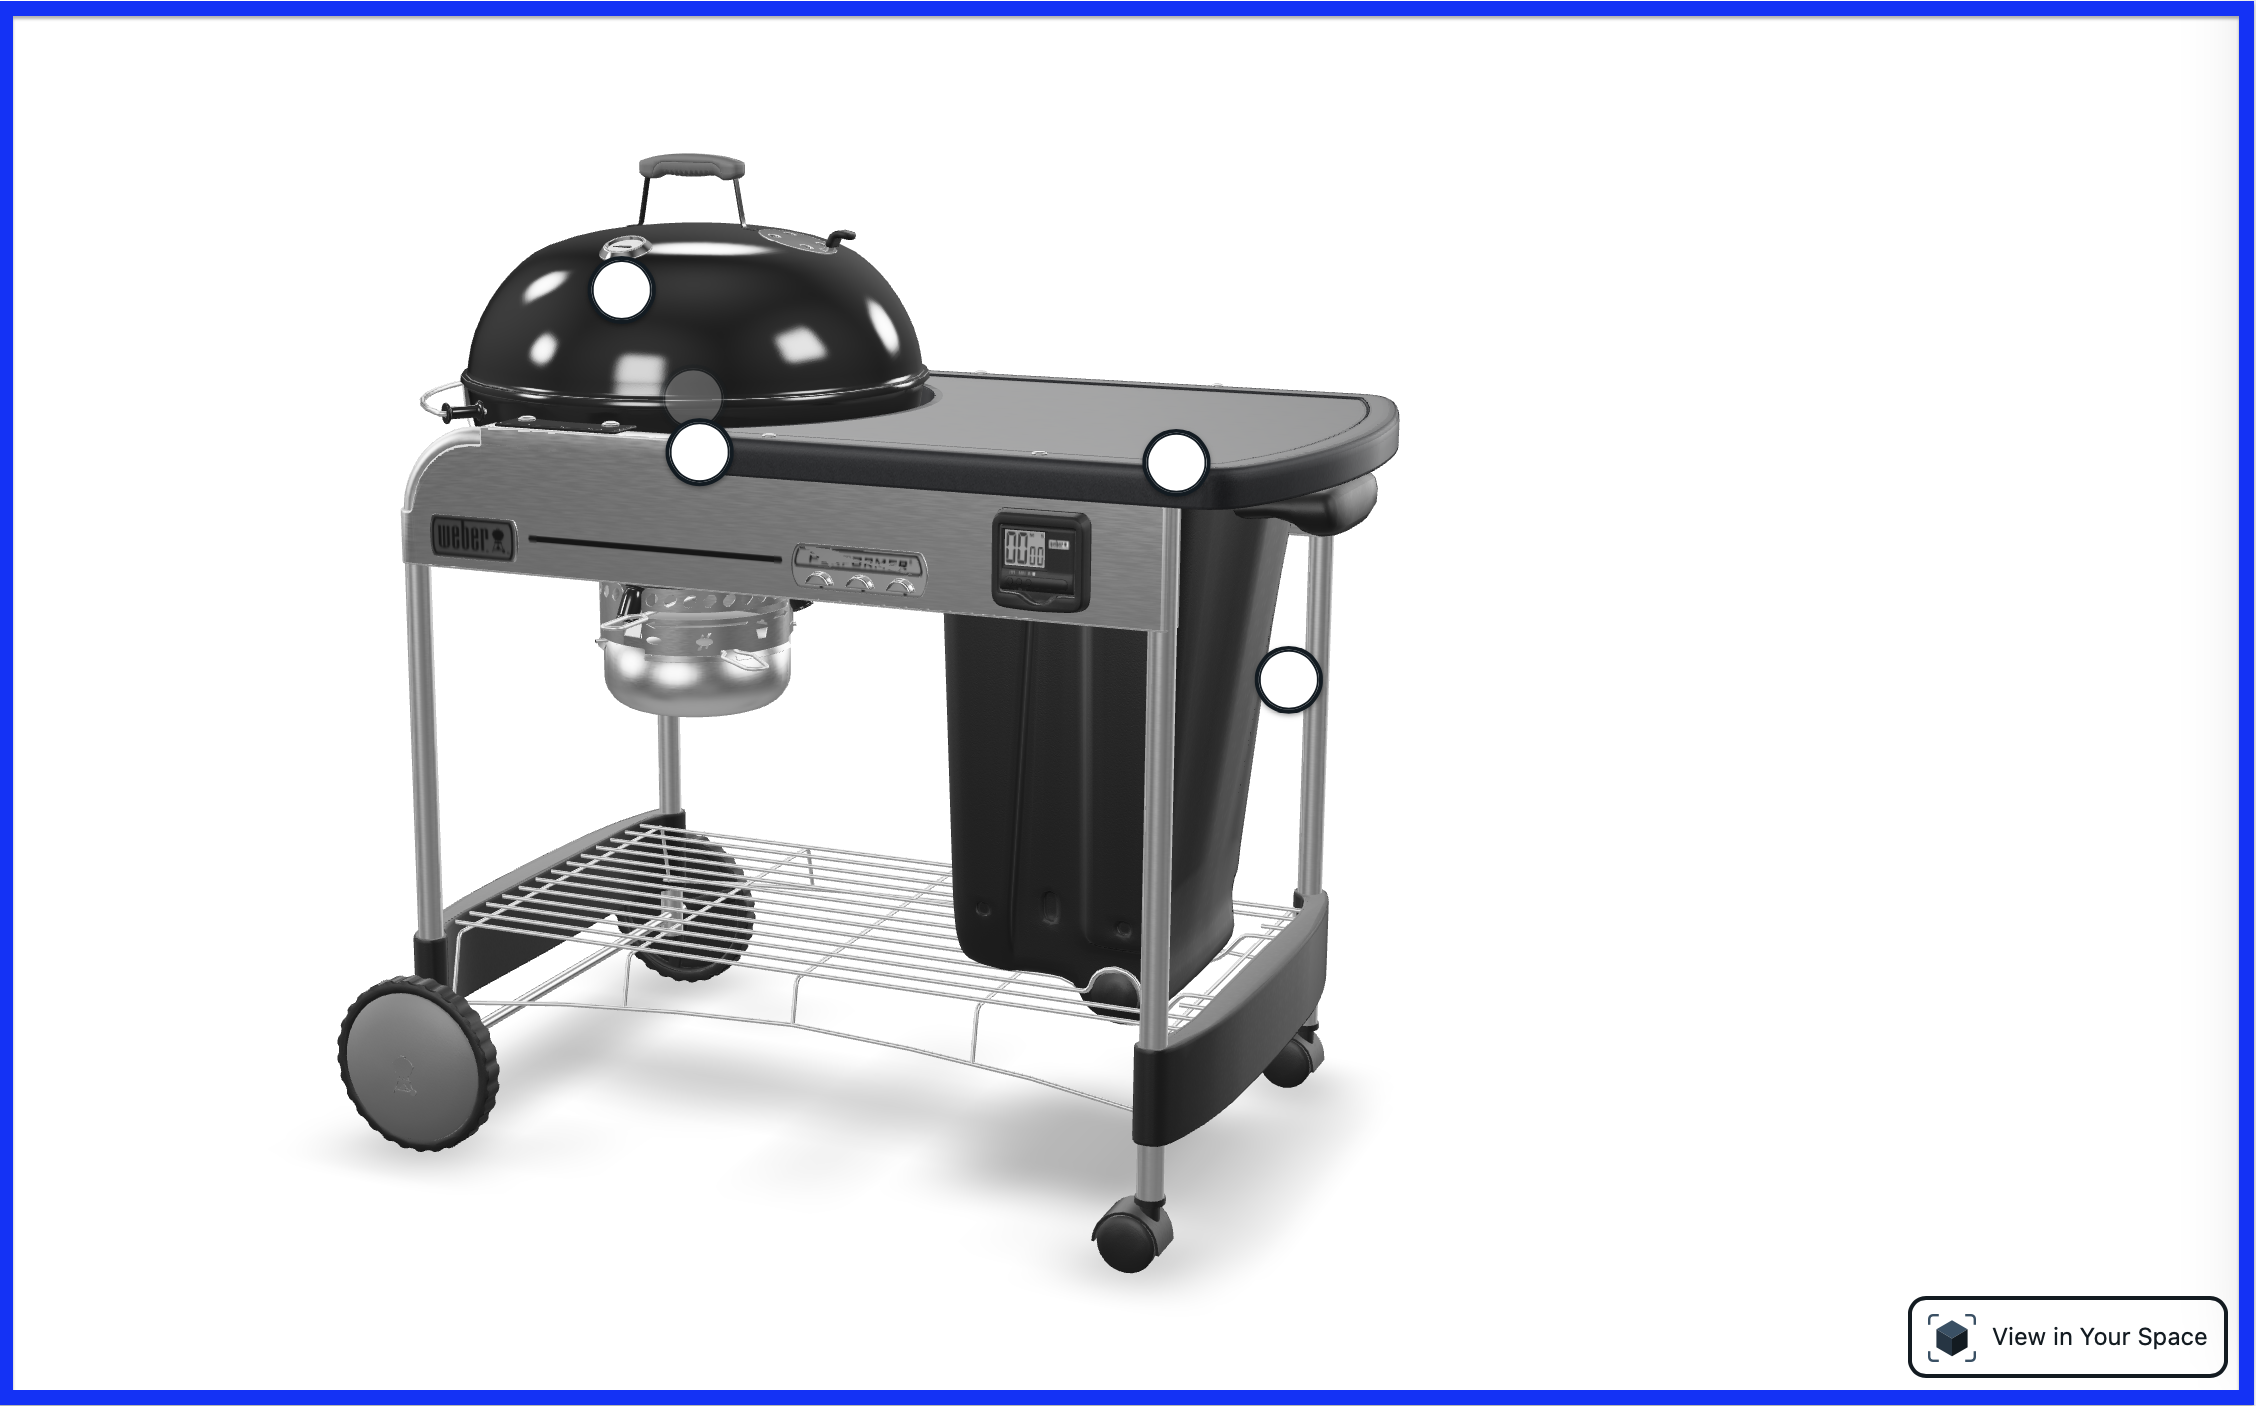
Slideshows
In some cases, certain slideshows (such as SwiperJS) can cause issues with the fullscreen modal used for epigraph-ar on iOS devices. If you run into this issue, you will need to add the following attribute to your instance of epigraph-ar. This solution appends epigraph-ar to the main body upon launching the modal, then re-appends it to its previous location upon closing it.
<epigraph-ar
	sku="insert-sku-here"
	viewer-visible
	append-modal
></epigraph-ar>
Updated over 1 year ago