Adding Epigraph-AR To Shopify
This guide will assist you with basic functionality of adding Epigraph-AR to your Shopify site.
This guide is intended for users with a working knowledge of the following:
- HTML
- Javascript
- CSS
- Shopify Theme Development (Liquid)
- Shopify Management
If you need assistance with implementation on Shopify, please reach out to [email protected] and we can connect you with our team or a partner that can help with implementation on Shopify.
This guide is not the only way to add Epigraph products to your page, it is intended to show a simple and fast way to add Epigraph-AR to your Shopify Product pages. Other strategies may be implemented to get Epigraph on a page within Shopify.
Epigraph-AR Button
To begin, we'll look at the addition of an Epigraph-AR Button to a Product page that allows users to view a 3D model with their phone.
Custom Metafield for Epigraph SKUs
Epigraph-AR experiences are accessed using a "SKU" that is provided to Epigraph by your team and assigned to a given model. While these generally are the exact same SKU that you may use within Shopify, it may be a good idea to specify a custom metafield in Shopify to allow control over exactly which product is being shown in 3D.
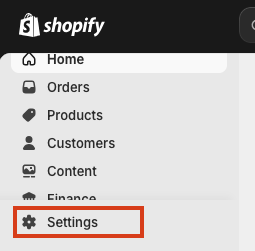
Start by navigating to your Shopify Admin page. Then Settings -> Custom Data -> Products -> Add Definition
From here, we'll add a custom metafield called: epigraph_ar_button_sku
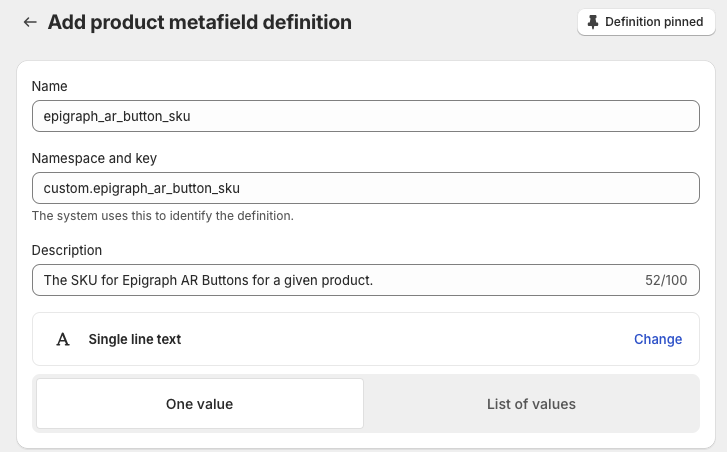
Adding a Product Metafield in Shopify for an Epigraph Button SKU
Product Page Customization
Next we'll head to the Shopify Theme Editor in the Code Editor mode. You will need to locate the product.liquid or main-product.liquid file. In this example we'll use the sections/main-product.liquid file.
First we'll need to add the Epigraph-AR to the head of any page where a product has the metafield we added above.
At the bottom of the HTML section of the main-product.liquid file, you can add the following snippet.
This code snippet checks to see if the Product we're on has a custom metafield called epigraph_ar_button_sku and then appends the Epigraph-AR script to the <head> of the page.
 <!-- Add Epigraph-AR Only to Pages that have -->
  {% if product.metafields.custom.epigraph_ar_button_sku %}
    <script>
      (function() {
          // Dynamically add the script to the head
          const script = document.createElement('script');
          script.src = "https://cdn.jsdelivr.net/npm/@epigraph/ar/dist/epigraph-ar.min.js";
          script.type = "module";
          script.async = true;

          document.head.appendChild(script);
      })();
    </script>
  {% endif %}
From here, we'll need to add the define the a Section Block called epigraph-ar-button within the Schema of the Liquid file.
Navigate down to the blocks section of the Schema JSON and add the following within the blocksarray.
{
      "type": "epigraph-ar-button",
      "name": "Epigraph AR Button",
      "limit": 1 //Choose how many you would like on a single page
},
Next, we'll need to navigate to the section of the main-product.liquid page where you would like to allow the Epigraph-AR button to be rendered. If for instance, we would like to allow for an AR button to be rendered in the Product Info section, we will add the following code within the Product Info section Blocks. This will be adjustable within the Theme Editor later, but for now, we'll place it towards the top so we can see it being added in the demo.
{% when 'epigraph-ar-button' %}
	{% render 'epigraph-ar' %}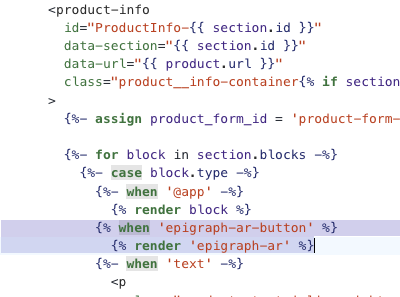
Adding the Epigraph-AR block to the Product Info Section
epigraph-ar.liquid Snippet
Next we'll create a new Snippet to render the HTML for Epigraph-AR. Create a snippet within the snippets folder in your Theme editor.
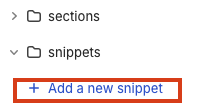
Call the Snippet epigraph-ar.liquid and add the following code.
{% if product.metafields.custom.epigraph_ar_button_sku %}
  {% assign sku = product.metafields.custom.epigraph_ar_button_sku %}
  {% assign pv_sku = product_variant.id %}
  <epigraph-ar
    style="
      height: 60px;
      width: 200px;
    "
    sku="{{ sku }}"
    button-mode="mobile desktop"
    camera-orbit="55deg 69deg auto"
    auto-start
  >
  </epigraph-ar>
{% endif %}
Within this file above, you can customize the look and feel of the Epigraph-AR button using the documentation found here.
Theme Editor
After saving all of the theme updates, we'll navigate back to the Shopify Theme Editor. Navigate to the theme page for Products. Since we have the metafield to drive whether the Epigraph-AR button gets added to the page or not, we can add the Block to the Default Product page that is used for your Shopify store.
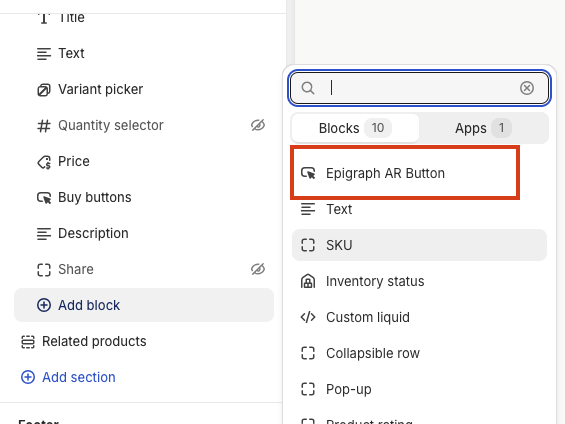
In the "Template" section, select "Add Block" and select the Epigraph AR Button from the options presented. An example of this can be seen below.
Move the Epigraph AR Button Block to wherever you would like this component within the Product Info panel.
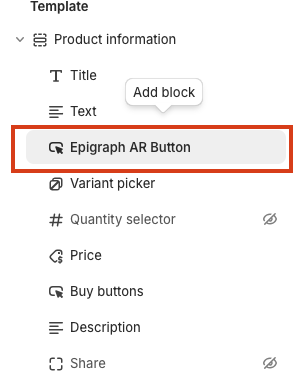
Move the component to where you would like it in the Product Information panel
At this point, you may or may not see the button previewed in the editor. Because we still need to add the epigraph_ar_button_sku to the Products and also will need to whitelist the URL for your Shopify theme, they may not show up yet. These steps are outlined below.
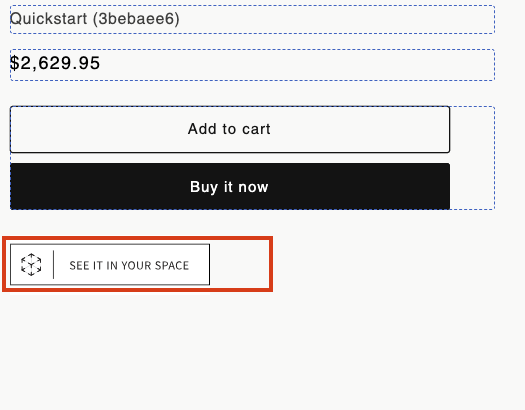
The Epigraph-AR Button showing within the Shopify Them Editor
Adding The Epigraph-SKU to a Product
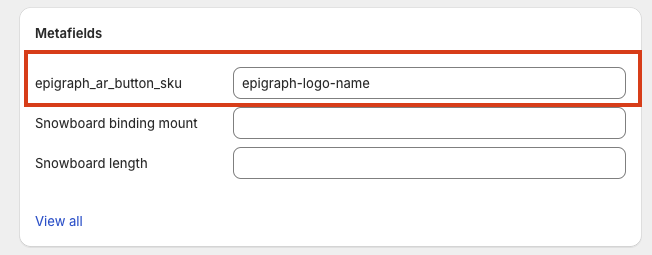
Next, we'll head back out to the Shopify Admin panel and select Products from the menu. For any product that has an associated Epigraph-AR SKU, you will want to customize the Product and fill out the Custom Metafield. An example of this can be seen below. Replace epigraph-logo-name with the SKU that was provided to Epigraph for each particular product.
Preview Your Theme
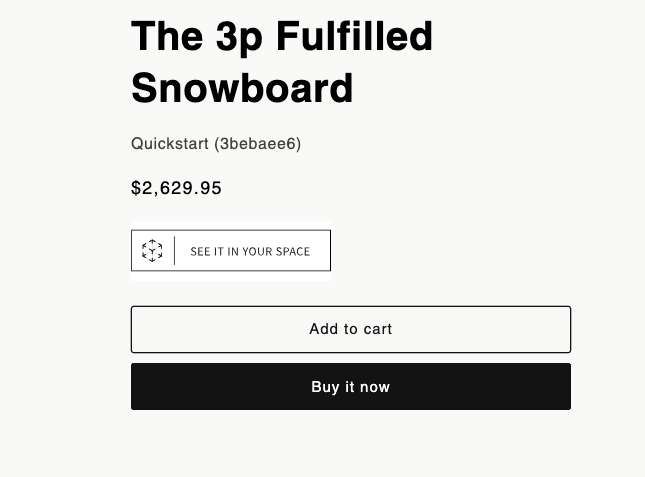
Finally, any product that has the Epigraph AR Button SKU should now show an Epigraph AR Button on the PDP.
If you don't see the button!
If you don't see the button on your page, you may need to send your Shopify Preview URL to the Epigraph team to have your content whitelisted on your page. Because your content is locked to your website, we need to know the URL for your Shopify Preview theme to enable the products to load.
Send the Shopify Preview Theme URL to your Epigraph account manger and they'll enable the URL in our system. From here, you'll be able to preview and use Epigraph on Shopify.
Updated over 1 year ago